What is Wireshark?
Gerald Combs founded the free, open-source Wireshark network protocol analysis application in 1998. Wireshark is supported and updated for new network technologies and encryption techniques by a global group of network specialists and software developers. Blah, blah, blah.

Wireshark is completely risk-free to use. Wireshark is used by businesses, non-profits, government organisations, and educational institutions for teaching and troubleshooting purposes. Looking at the traffic under the Wireshark microscope is the best approach to learn networking.
Since Wireshark is a potent packet sniffer, there are concerns regarding its legality. Use Wireshark only on networks where you are authorised to inspect network packets. You may consider the last sentence as a disclaimer for I have used all the legal grammar I have learnt from movies and TV shows. Simply put, using Wireshark to sniff packets on a network where you don’t have a permission to do so IS JUST RISKING IT.
Interesting fact: Wireshark was originally known as Ethereal.
Wireshark displays data from hundreds of different protocols on all major network types. Data packets can be viewed in real-time or analyzed offline. Wireshark supports dozens of capture/trace file formats, including CAP and ERF. Integrated decryption tools display the encrypted packets for several common protocols, including WEP and WPA/WPA2.
And so we reach our next question…
How does it all work?
Wireshark is a packet sniffer and analysis tool. It records local network activity and stores it for later offline analysis. Wireshark records network traffic from a variety of connections, including Ethernet, Bluetooth, Wireless (IEEE.802.11), Token Ring, and Frame Relay.
Note 1: A single communication from any network protocol is a “packet,” (i.e., TCP, DNS, etc.)
Note 2: Because LAN traffic is broadcast, a machine running Wireshark can see traffic going between two other computers. You must capture the packets on the local computer if you wish to see the traffic to an external site.
You can narrow down and focus on the network trace you’re looking for with Wireshark by filtering the log either before the capture begins or while you’re analysing it. You can configure a filter, for instance, to view TCP traffic between two IP addresses. You can configure it to only display packets sent by a single computer. One of the main reasons Wireshark became the industry standard tool for packet analysis is its filters.
Downloading and Installation
Find the official download page here.
Windows installation is straightforward just so long as you choose the right (32-bit or 64-bit) version.
Mac peeps: You guessed it, Homebrew is your friend. The command is brew install wireshark.
Ubuntu-Linux: Just run these commands:
sudo apt-get install wireshark
sudo dpkg-reconfigure wireshark-common
sudo adduser $USER wireshark
Other Linux Distros: You’re probably used to this but only the internet can help you.
This calls for a meem.

Data Packets: Capturing ‘em
What next?! Well, start using it bruh.
Okay, okay, we de.ci.phe.red folk have got your back.
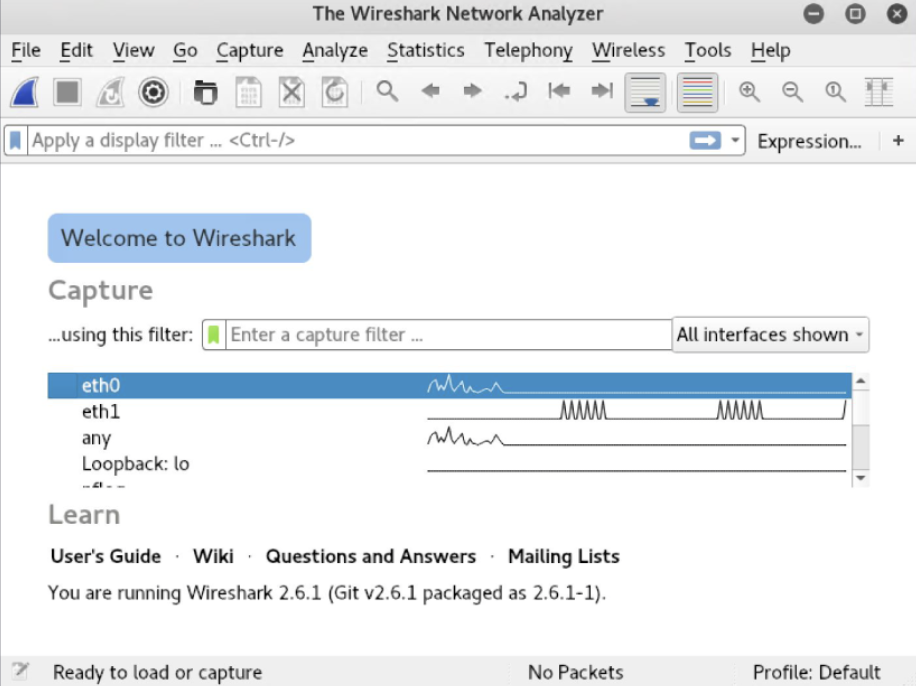
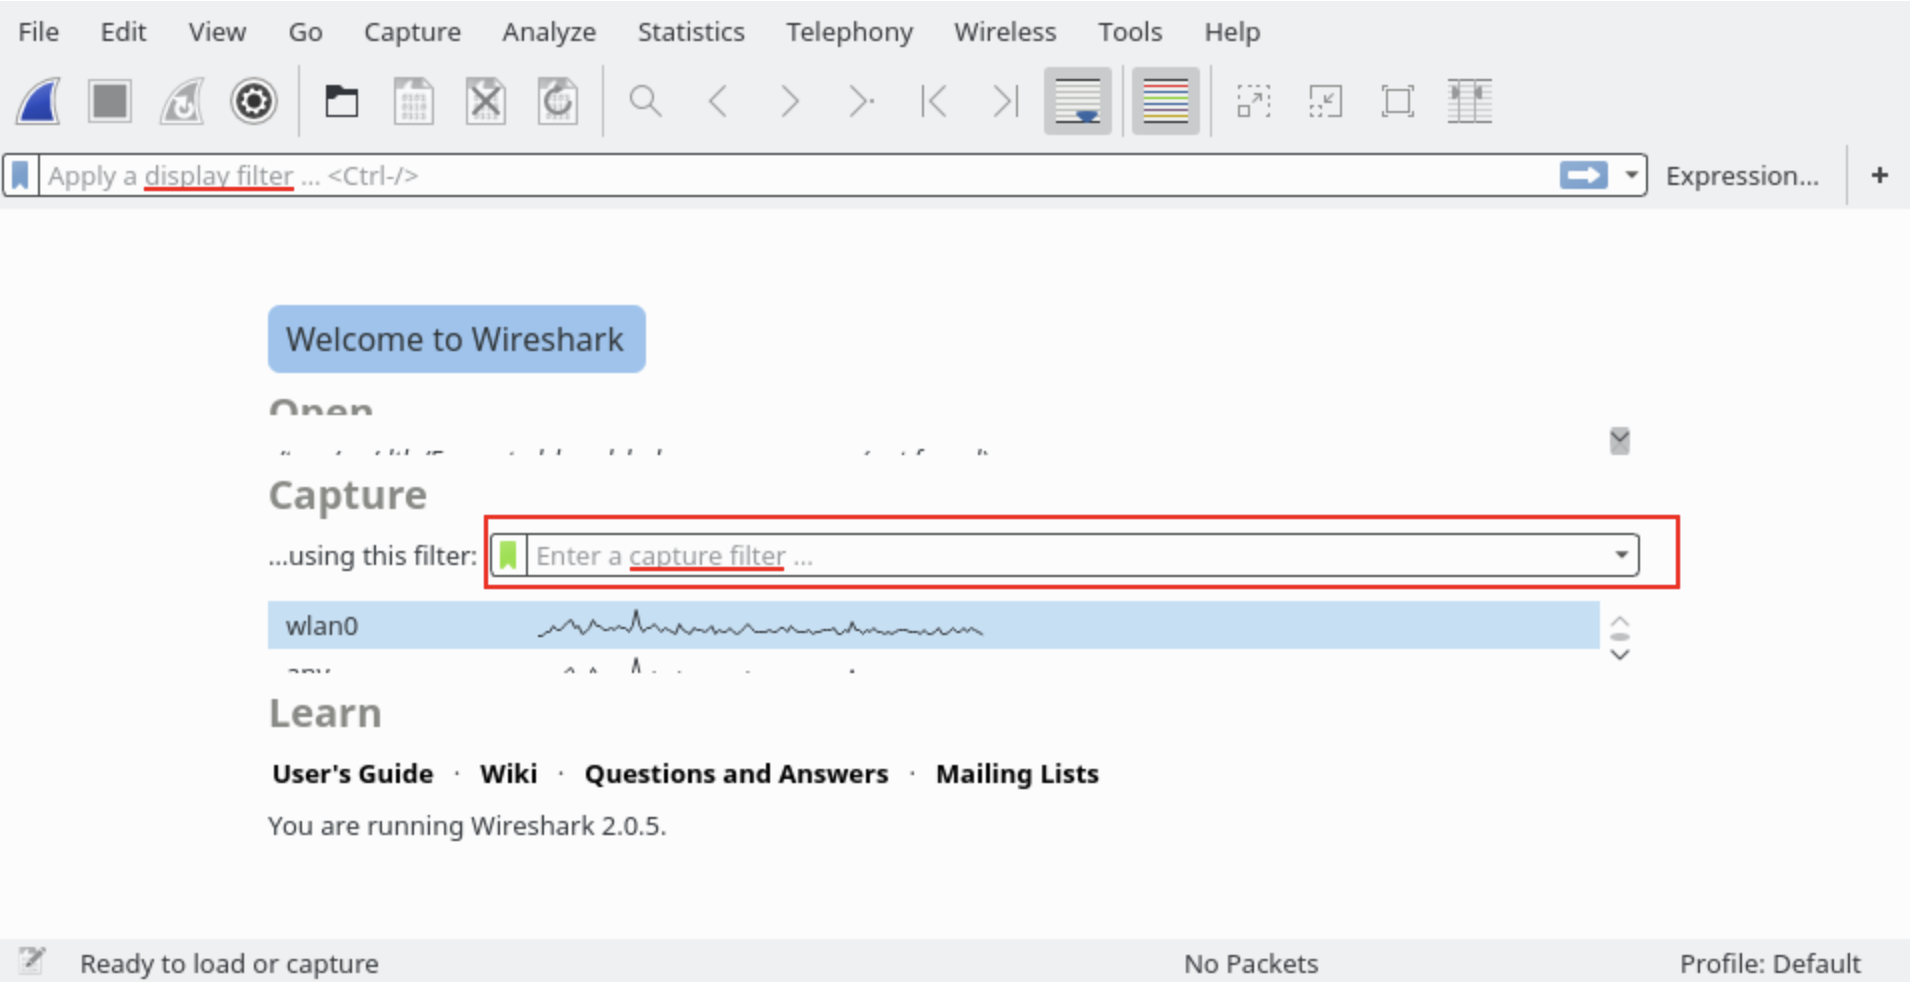
Once you open Wireshark, the first screen shows you a list of network connections that you can monitor. Filtering can be done from here on itself, but we’ll dive into filtering in the section on filters. Choose your network interface and start capturing by clicking on the blue colored shark fin button.
Boom! You’ll see wireshark show you all the packets that are sent on your network (interface) along with some more information.
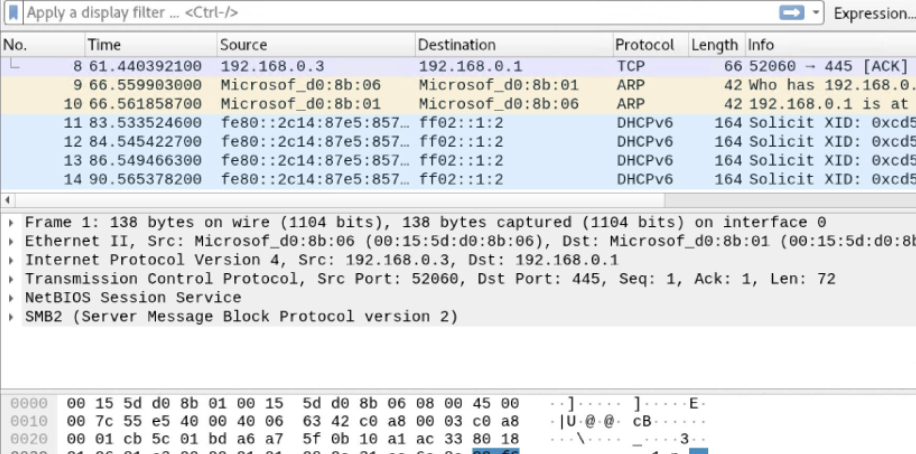
I’m not so comfortable sharing a screenshot of the packets on my network so here’s a screenshot I found on the internet belonging to someone who doesn’t share my reservations.
**IYKYK**
Data Packets: Analyzing ‘em
This is where all the fun is right? You ain’t a network dustbin just to gather all the packets. What is in them is what wakes you up in the morning.
There are three panes to the right of the Wireshark window. The first pane is the packet list. It shows you all the packets that have been captured. The second pane is the packet details. It shows you the contents of the packet. The third pane is the packet hexdump. It shows you the contents of the packet in hexadecimal.
| Column | Description |
|---|---|
| No. | This is the number order of the packet that got captured. The bracket indicates that this packet is part of a conversation. |
| Time | This column shows you how long after you started the capture that this packet got captured. |
| Source | This column shows you the IP address of the computer that sent the packet. |
| Dst. | This column shows you the IP address of the computer that received the packet. |
| Protocol | This column shows you the protocol that the packet uses eg. TCP, DNS, DHCPv6, or ARP |
| Length | This column shows you the length of the packet. |
| Info | This column shows you the contents of the packet. |
Filters
This is the heart of Wireshark. Filters help you see what you want to see and (hmm…?) be more frickin’ efficient. There are 2 types of filters, capture and display filters.
Capture filters limit the packets captured by the filter. Here are some examples:
host IP-address: this filter limits the capture to traffic to and from the IP address
dst host IP-address: capture packets sent to the specified host.
net 192.168.0.0/24: this filter captures all traffic on the subnet.
port 53: capture traffic on port 88 only.
port not 8000 and not arp: capture all traffic except DNS and ARP traffic
Coming to Display Filters, they help you to change the view of your capture during analysis. This is my most favorite display filter which I found on another online blog:
ip.src==IP-address and ip.dst==IP-address
This link has a list of display filters and gotchas to get you started.
Closing Notes
Well, just like my other blogs, this didnt end how I expected it to. Hoped to cover 2 tools: Wireshark and Scapy. But this seems long enough for anyone’s attention, so you can expect a part 2.
Didn’t mean for the blog to help you become a master with the said tool. Hope it has you curious about stuff. Then, I’m happy.
Here are some osm resources:
This page was last updated at 2023-11-24 12:04.